🔥 Integrate with Firebase
For eSchool SaaS, you should set up Firebase using the Firebase CLI. Manual setup can easily miss required files or configurations, which leads to issues later. Using the CLI ensures all platforms are configured correctly and all files are generated reliably.
Select or Create Firebase Project:
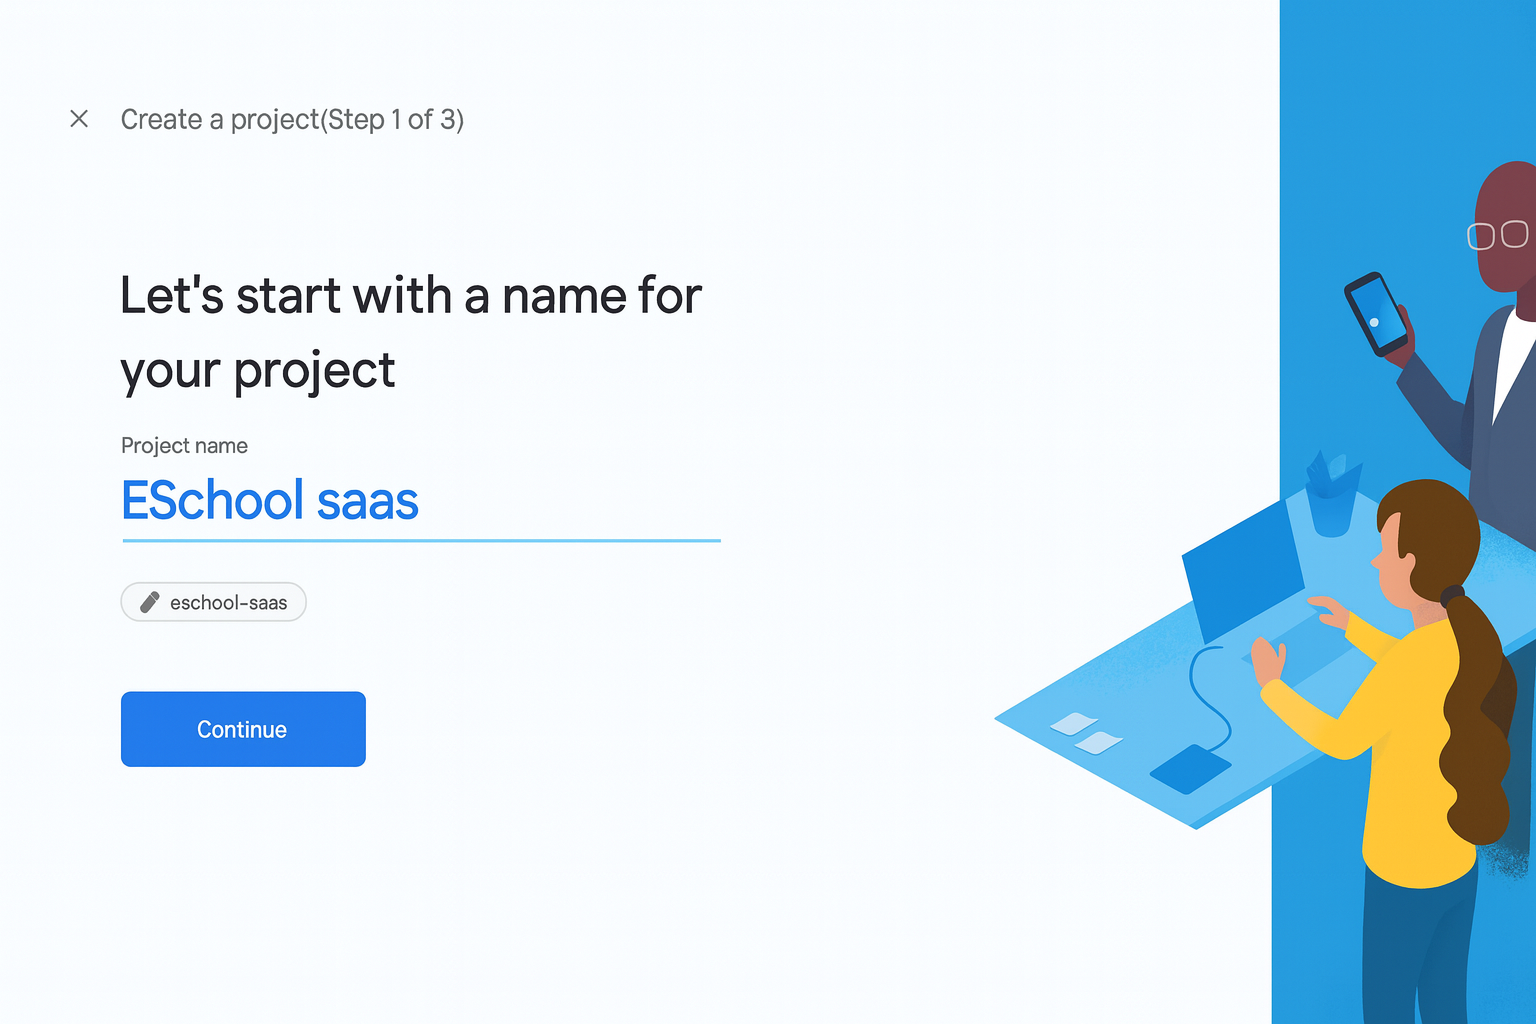
Choose Platforms (Android & iOS):
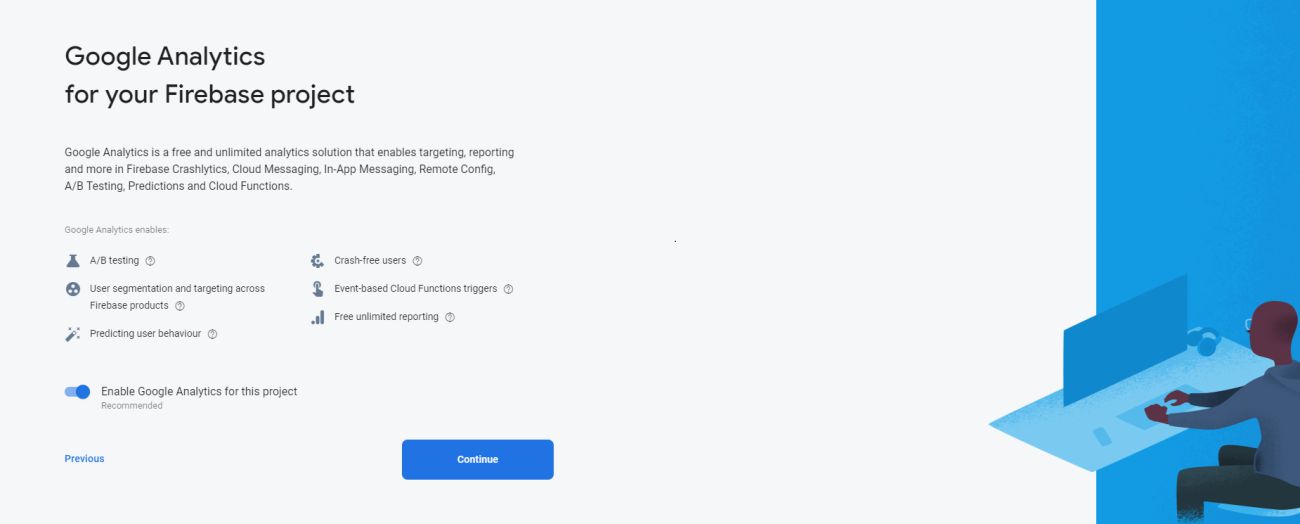
Configuration Files Generated:

Setup Complete:

Step 1: Install Firebase CLI
Open your terminal and run these commands:
# Install Firebase CLI
npm install -g firebase-tools

# Login to Firebase
firebase login

# Verify installation
firebase --version
Firebase CLI in action
The short demo below shows the two essential commands you need to get started with Firebase CLI on your machine:
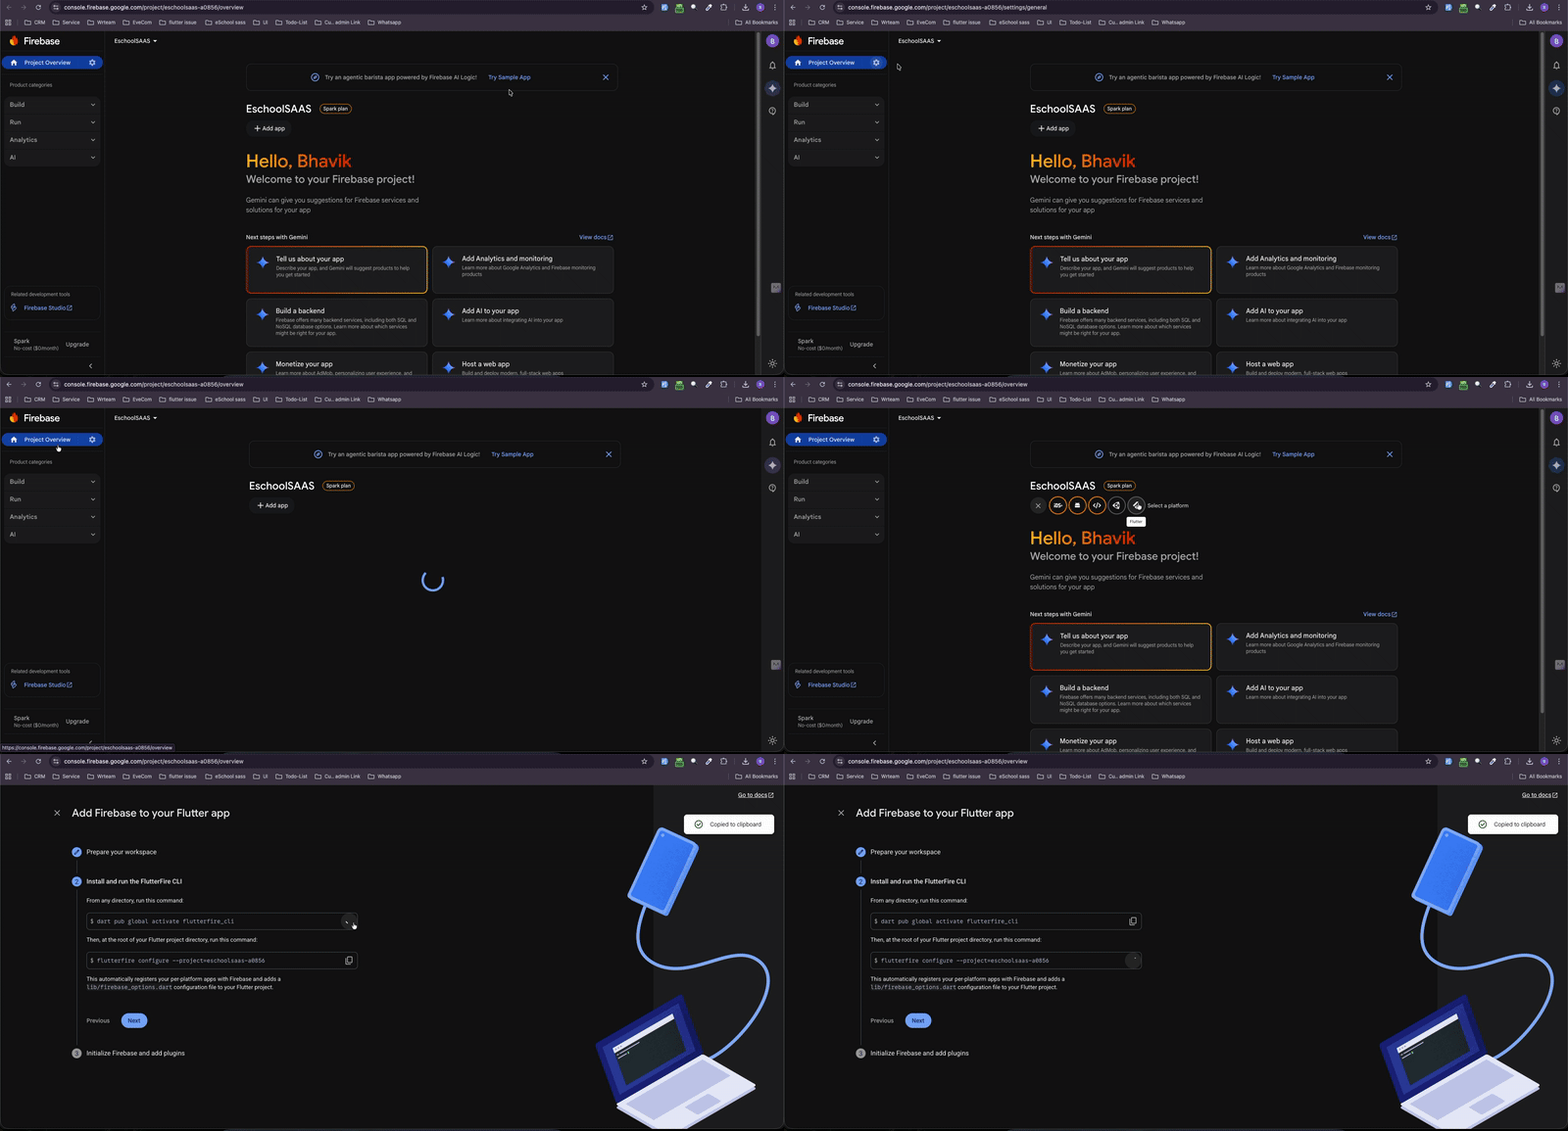
Step 2: Install FlutterFire CLI
dart pub global activate flutterfire_cli
Step 3: Configure your Flutter project
Run the configuration command from your Flutter project directory, with your own Firebase project ID, Android package ID and iOS bundle ID. The GIF above shows how the prompts look and what gets generated.
flutterfire configure --project=your-firebase-project-id --android-package-name=com.yourcompany.eschool --ios-bundle-id=com.yourcompany.eschool
| Option | What to enter |
|---|---|
--project | Your Firebase project ID, shown in Project settings in the Firebase console. |
--android-package-name | The Android package ID you set in Change Package Name. |
--ios-bundle-id | The iOS bundle ID you set on the same page. |
From v1.12.0, FlutterFire cannot read these two IDs from the project on its own. Without the options above, it registers the app's original package ID with Firebase, and your renamed app then fails to start Firebase or receive notifications.
Run the command in both apps, each with its own package ID and bundle ID.
✅ Verification
Run your app to verify Firebase is working:
flutter run
Check Firebase Console to see your app listed in the project.
🎥 Video Tutorial
Watch the complete step-by-step Firebase setup process for eSchool SaaS.
💡 Benefits of Firebase CLI
- ✅ Automated configuration
- ✅ Reduces manual errors
- ✅ Faster setup process
- ✅ Handles both Android and iOS simultaneously
- ✅ Automatically updates configuration files
🔗 Additional Resources
🔧 Troubleshooting
Command not found error?
- Ensure Node.js is installed
- Restart your terminal after installing Firebase CLI
FlutterFire command not working?
- Add to PATH:
export PATH="$PATH":"$HOME/.pub-cache/bin"
Configuration failed?
- Check your internet connection
- Verify you're logged in:
firebase login - Make sure you're in the correct project directory