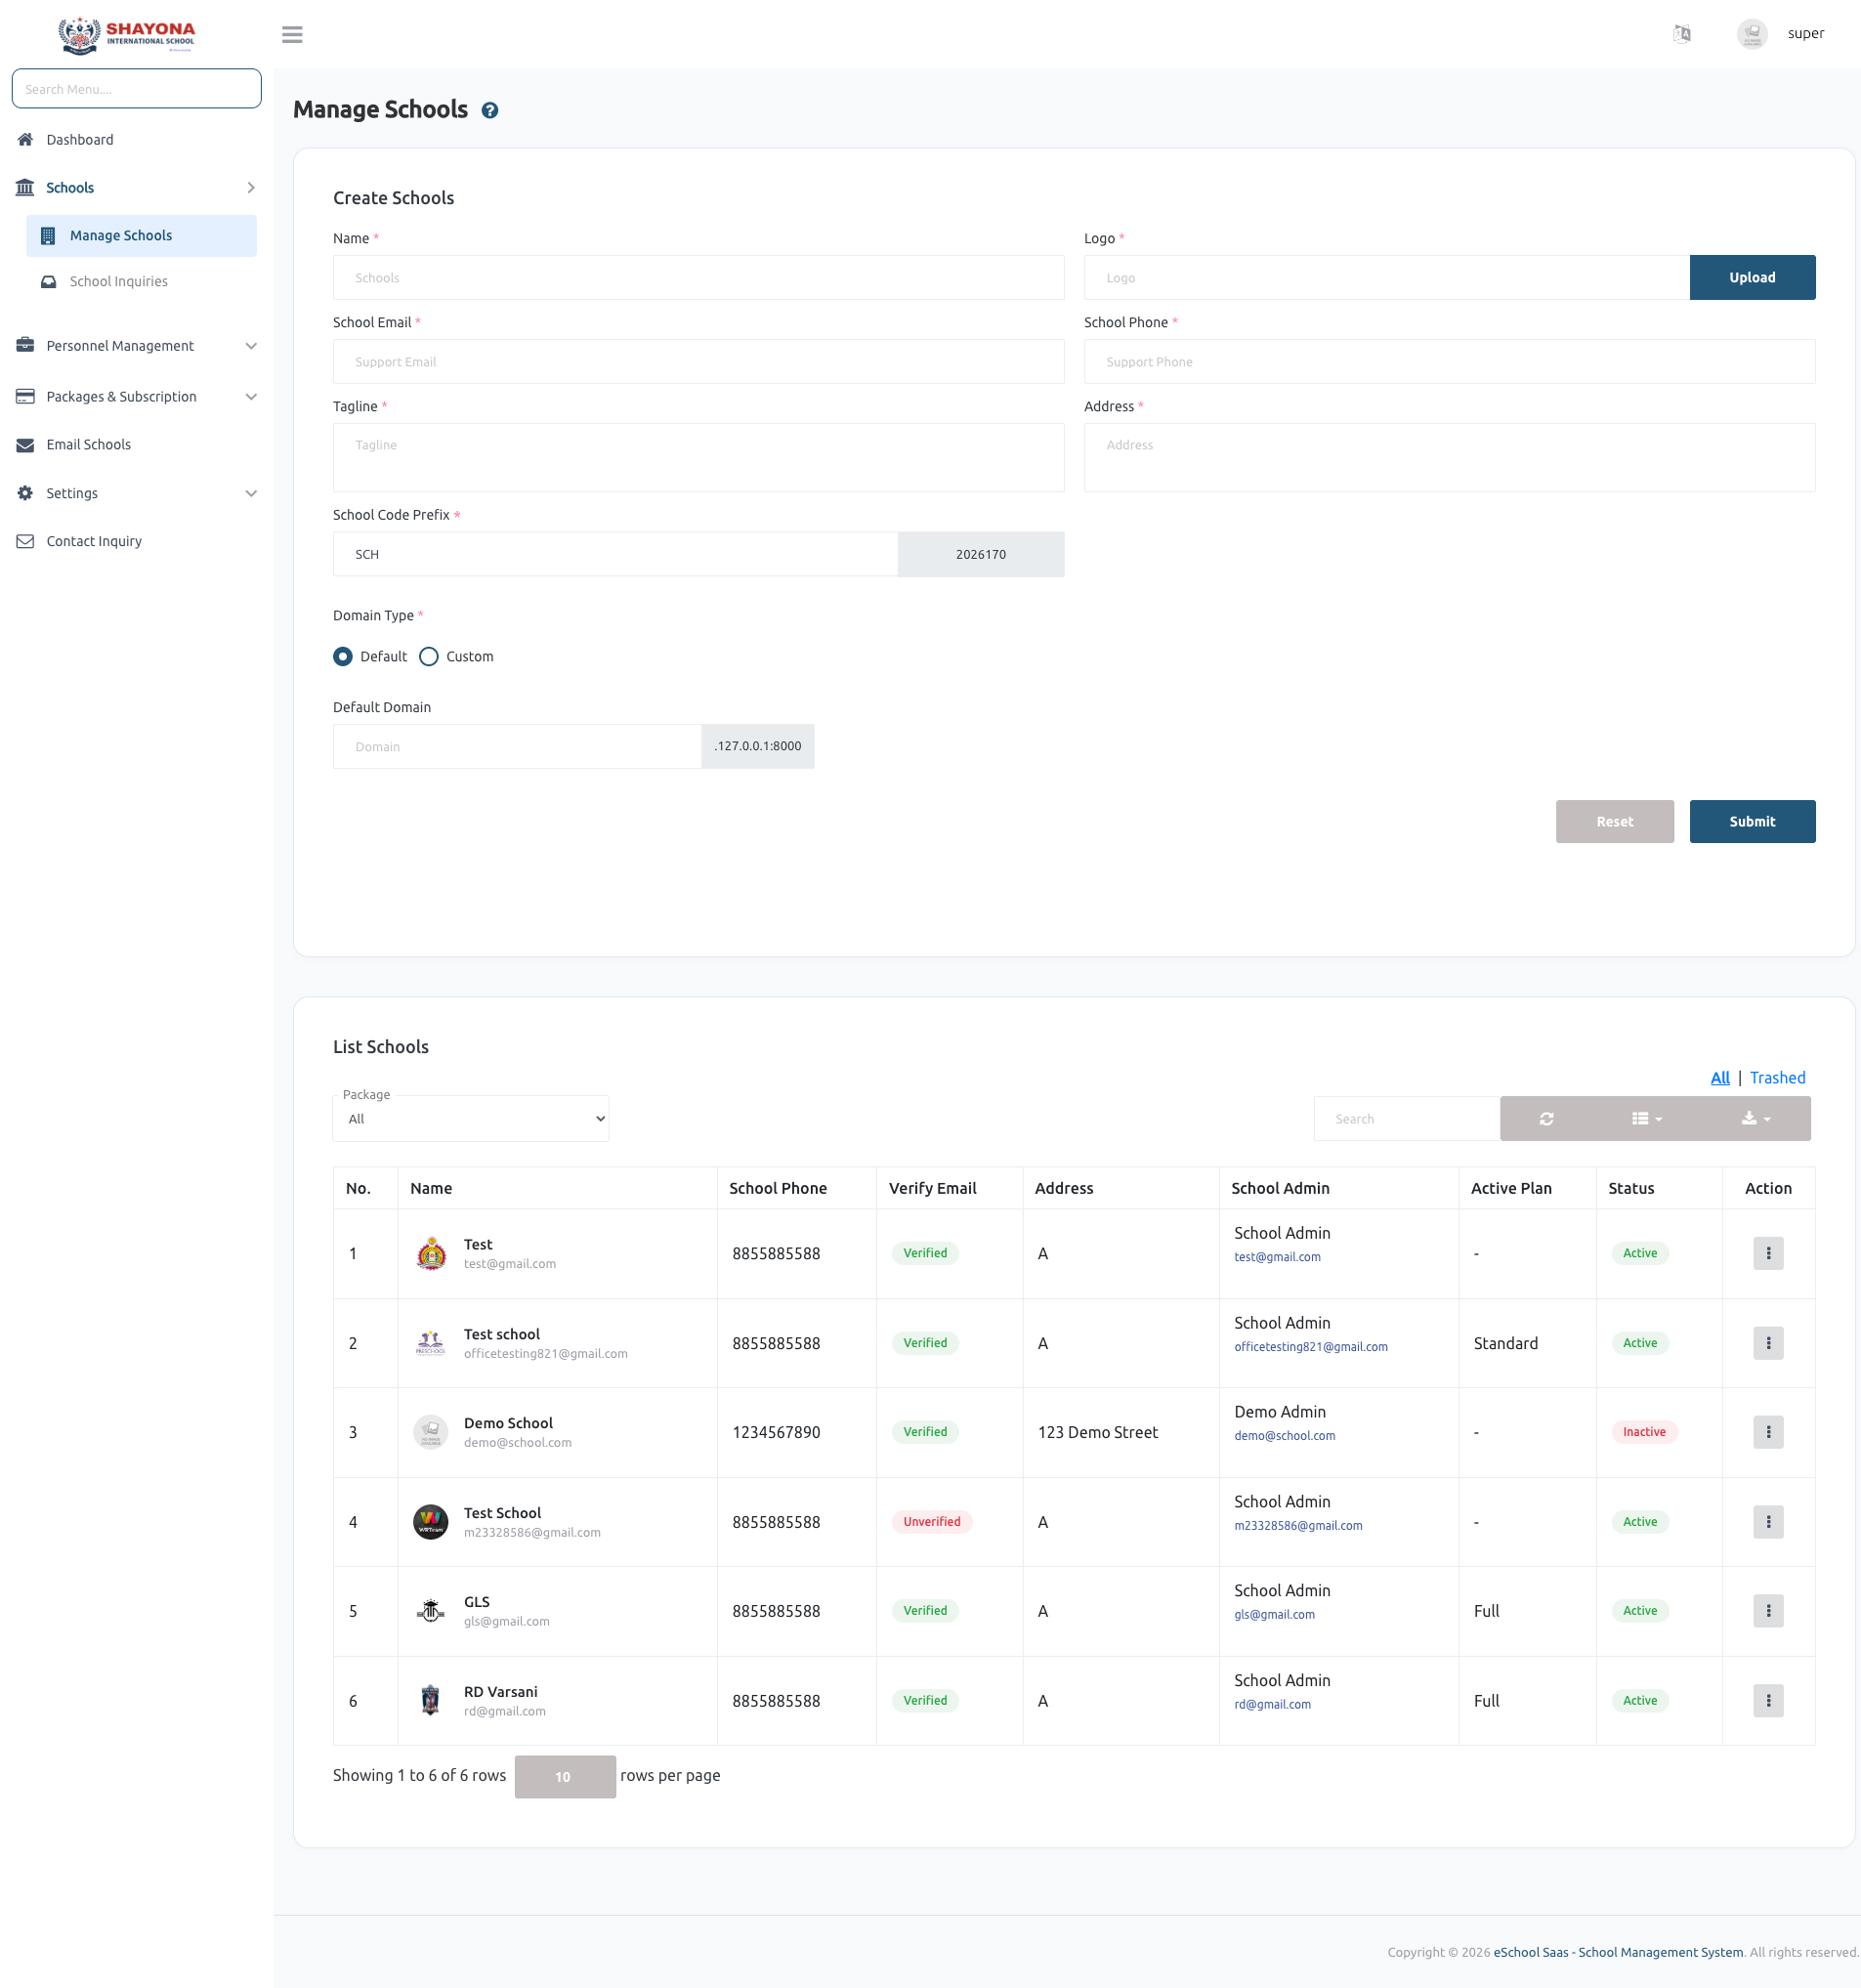
Manage Schools
The Manage schools video tutorial follows one school from start to finish: create it, manage it (Manage admin, Edit, Inactive/Active, Delete and Restore), assign a plan, open its website, sign in as the school admin and complete the Academy Setup Wizard.
School Management
1. School Creation
The Super Admin can create a new school from the system. During creation:
- A dedicated database is generated.
- Required tables are migrated.
- Default settings are configured.
- Login credentials are sent to the School Admin via email.
- The default password for the School Admin is set as their phone number.
2. Processing Time & Real-time Tracking
School creation is an automated background process that typically takes 2–5 minutes. With the latest update, you can now track this progress in real-time.
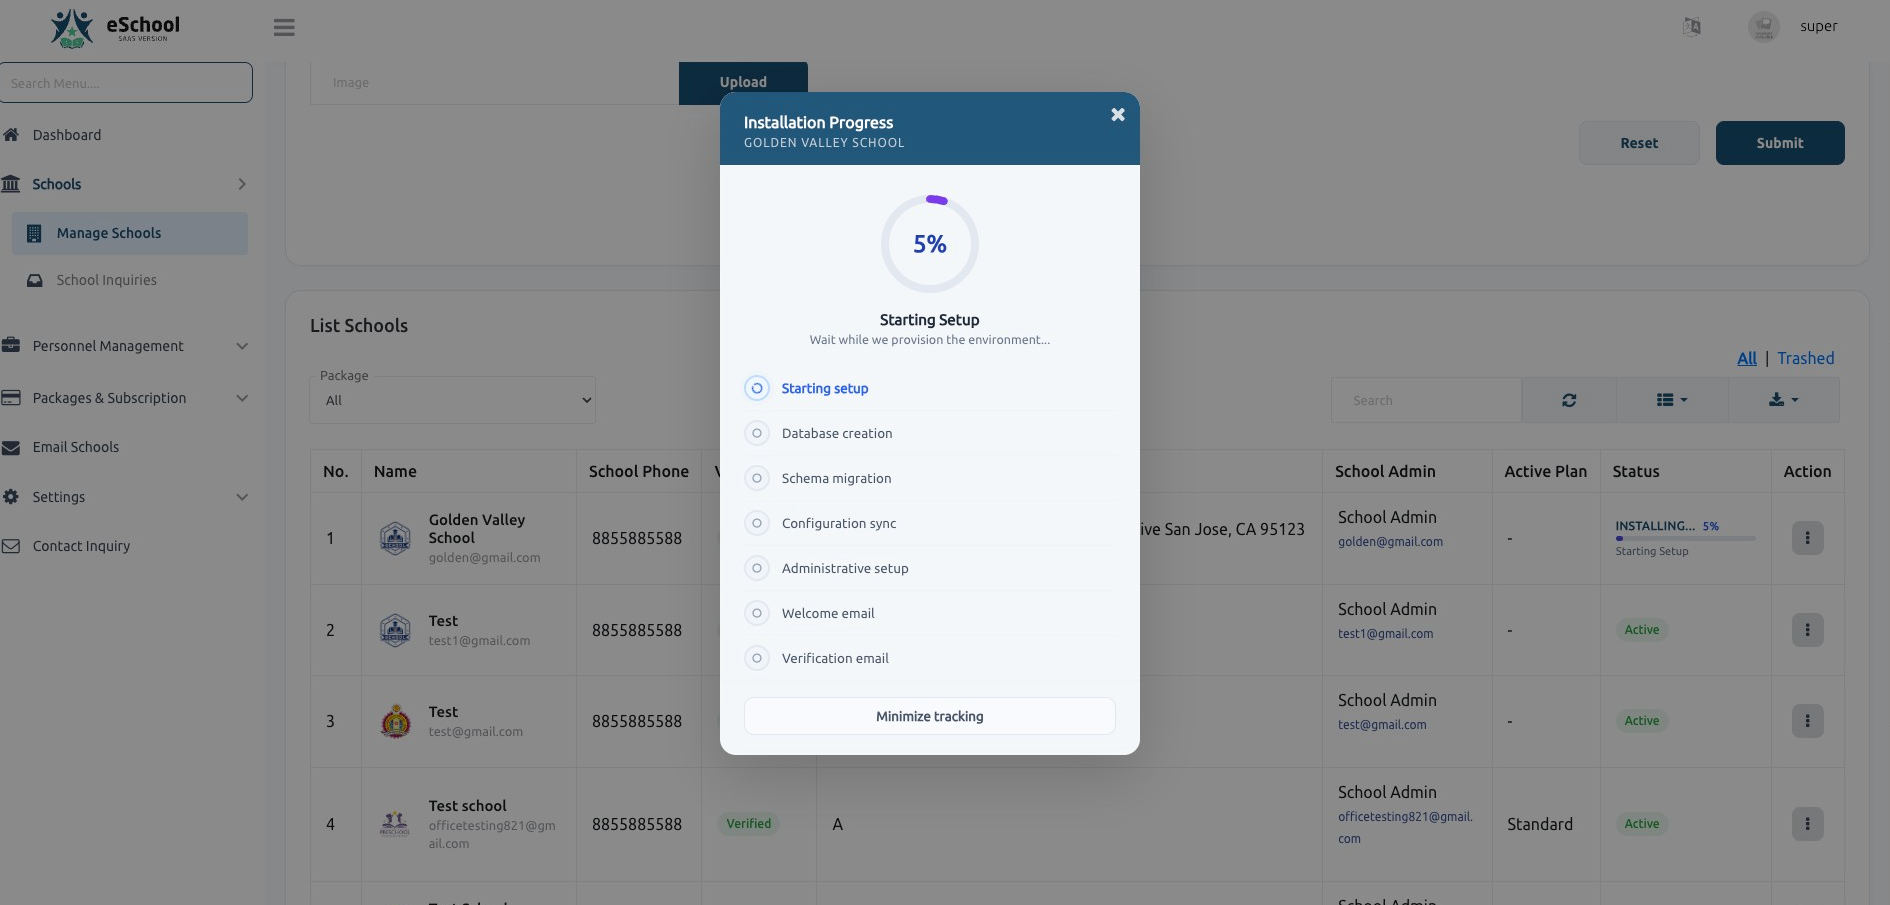
- Real-time Progress: A detailed tracking modal shows the exact step currently being executed (e.g., Database creation, Schema migration).
- Background Processing: You can minimize the tracking modal and continue with other tasks while the system handles the installation.
- Status Indicators: The school list displays a live progress bar and percentage for schools currently being installed.
[!IMPORTANT] To enable real-time progress tracking, you must have Laravel Reverb correctly configured on your server. Without Reverb, the status will simply show as "Loading" until completion. Learn how to configure Reverb here.
3. Installation Progress Overview
The installation tracking modal provides transparency into the multi-step provisioning process:
- Starting setup: Initializing the environment.
- Database creation: Provisioning a dedicated database for the school.
- Schema migration: Setting up the required table structures.
- Configuration sync: Applying default settings and school-specific configurations.
- Administrative setup: Creating the primary administrator account.
- Welcome & Verification emails: Sending credentials and verification links to the school admin.
4. School Access
The School Admin can access their admin panel using:
- Registered email
- Password (phone number by default)
5. Plan and first sign-in
- A new school starts without a plan, so its website and features are switched off. Assign one from Packages & subscription › Subscription › View report › Assign plan.
- Edit school shows the school's Default domain URL. Open it and choose Login › Login with staff to sign in as the school admin.
- On the first sign-in, the school admin completes the Academy Setup Wizard.
6. School Management by Super Admin
The Super Admin has full control over schools, including:
- Updating school details
- Activating or deactivating a school
- Deleting a school
7. Activation / Deactivation Behavior
If a school is deactivated:
- Students and staff will not be able to log in.
- Access to the system is completely restricted for that school.
Summary Flow
- Super Admin creates a school.
- System processes setup with real-time tracking (2–5 minutes).
- School Admin receives login credentials.
- School becomes active and accessible.
- Super Admin can manage, update, deactivate, or delete the school.