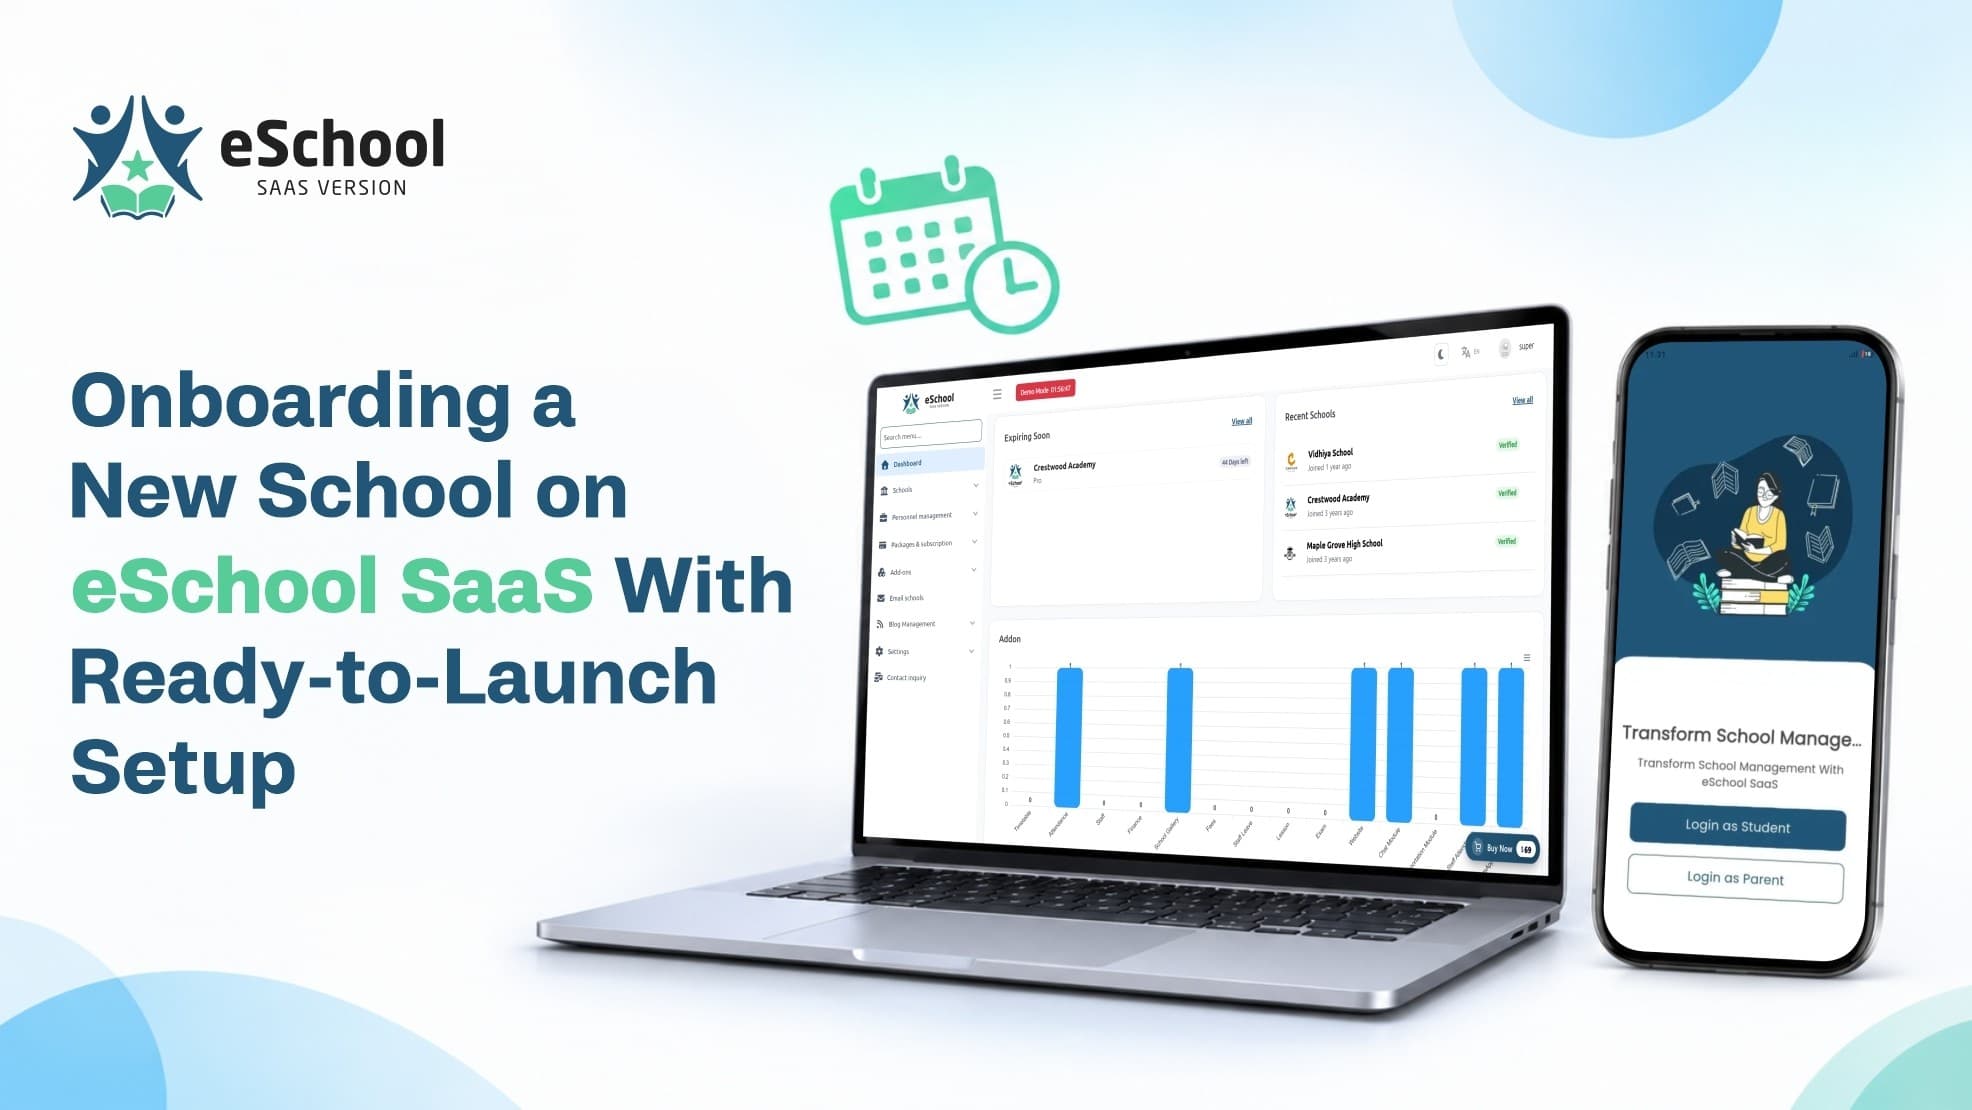
Signing a school is the easy part of the job. The hard part starts the day after, when the principal asks when the staff can log in, the accountant wants to know how fees will be recorded, and parents are waiting for an app they were promised. A slow or messy handover costs you trust, and trust is what keeps a school paying every month.
This guide walks through how a new institution goes from signed agreement to live campus on an online school management system, using eSchool SaaS and its ready-to-launch setup. You will see what to prepare, what happens at each stage, and how to avoid the delays that usually creep in.
A Realistic Onboarding Scenario
Picture an education entrepreneur who has just agreed terms with a mid-sized school. The school has about 600 students, 40 staff members, a bus fleet, and a fee structure that changes by grade. Until now, everything lived in registers, spreadsheets, and a few messaging groups.
The entrepreneur's goal is simple: get the school running on its own branded space within days, without breaking the daily routine of teachers and parents.
Moving a school off paper is not a technology problem alone. It is a planning problem. A good school management software platform shortens the technical part so you can spend your energy on the human part: training staff, explaining changes to parents, and making the first week feel smooth.
Phase 1: Groundwork Before the School Goes Live
Set Up Your Own Brand First
Because eSchool SaaS is white-label, your own branding comes before any school's data. Your logo, colors, domain, themes, and email templates are set once at the Super Admin level, so every school you add inherits a professional, consistent experience under your company name.
Confirm Your License and Setup Route
The product page lists two license routes, and the difference matters for onboarding speed:
-
Regular License: full source code, lifetime updates, and 6 months of basic guidance support. You handle deployment yourself.
-
Extended License: everything in Regular, plus ready-to-launch configuration for Android, iOS, web, and the admin panel, and 6 months of dedicated support.
Extended buyers also receive free backend deployment and domain server configuration from the engineering support desk. For a founder who wants the first school to live without wrestling with servers, that is the shortest path.
Collect the School's Information Early
Ask the school for a short checklist before onboarding day:
-
Official school name, logo, address, and contact details
-
Academic session dates and holiday calendar
-
Class, section, and subject structure
-
Staff list with roles and contact details
-
Student records with guardian contact information
-
Fee categories, due dates, and any concessions
-
Transport routes and stops, if the school runs buses
Having this ready turns onboarding into a one-sitting exercise rather than a drawn-out back and forth.
Phase 2: Creating and Configuring the School
Step-by-Step Onboarding Flow
Here is how a typical setup unfolds inside the Super Admin panel and the new school's own admin area.
-
Register the school. Add the school from the Super Admin panel with its core details. The school receives its own separate space, so its data never mixes with any other institution on your platform.
-
Assign a plan. Attach a subscription plan that matches the school's size and needs. Plans, renewals, and invoices are handled by the built-in billing tools.
-
Create the school admin. Give the principal or administrator a login. From here, the school controls its own staff, students, and daily operations.
-
Build the academic structure. Set up the session, classes, sections, subjects, and timetables. This is the skeleton everything else hangs from.
-
Add staff and teachers. Create profiles, assign roles, and link teachers to the classes and subjects they handle.
-
Import and register students. Bring in student and guardian records so parents can log in from the first day.
-
Configure fees and payments. Define fee categories and connect a payment gateway. Razorpay, Stripe, Flutterwave, and Paystack are supported.
-
Switch on notifications. Firebase-powered push messages keep parents and staff informed from the first announcement.
Getting Student Records Right
The most sensitive part of onboarding is student data. A dependable student management system needs clean admission details, correct class placement, and accurate guardian contacts, because attendance alerts, fee reminders, and report cards all depend on them.
Take an extra hour to check names, class assignments, and phone numbers before inviting parents. Fixing a wrong contact on day one is far easier than explaining to a parent why a fee reminder reached the wrong person.
Launching the School's Own Web Presence
Each school on eSchool SaaS can have its own branded site, which gives the institution a public face without a separate project. A well-set school management website shows the school's name, announcements, and information in a way parents recognize and trust.
Treat this as a selling point during onboarding. Schools that were using only a basic page, or nothing at all, often see the branded site as a bonus that justifies the subscription.
Phase 3: Choosing the Plan and Billing Model
Match Pricing to the School's Size
The way you charge shapes how smoothly the relationship starts. The product page outlines several revenue approaches you can mix:
-
Subscription plans: monthly or annual, with recurring billing for predictable income
-
Student and staff-based pricing: charges grow naturally as a school adds people
-
Premium add-ons: optional modules such as transportation, chat, website management, and advanced reporting
-
Setup and onboarding services: paid data migration, staff training, and platform setup
Why Billing Clarity Matters on Day One
A SaaS school management system earns its place when billing runs without chasing. With plans, renewals, and invoices automated, a school sees exactly what it pays and when, and you avoid awkward conversations about forgotten renewals.
Agree on the plan, the billing cycle, and any add-ons in writing before the school goes live. It keeps the first invoice from becoming the first disagreement.
Phase 4: The First Week After Go-Live
What the School Experiences
Once the setup is complete, daily life changes quickly:
-
Teachers mark attendance, post homework and assignments, and share notes from their own app
-
Parents see attendance, timetables, fees, notices, and exam results on their phones
-
Administrators watch attendance, academics, and finance through dashboards
-
Transport staff manage routes, while parents follow the bus live from the app
Train in Small, Role-Based Sessions
Do not train everyone at once. Run short sessions by role instead:
-
School admins first, so they can answer questions from their own team
-
Teachers next, focused on attendance, assignments, and timetables
-
Accounts staff, focused on fee setup, payment tracking, and reports
-
Parents last, with a simple guide on installing the app and logging in
Short, role-based sessions keep the learning curve gentle and reduce support requests in week one.
Common Onboarding Hurdles and How to Avoid Them
Even a smooth platform runs into avoidable problems. Watch for these:
-
Incomplete data from the school. Use the checklist above and set a firm deadline for submissions.
-
Unclear fee rules. Get the full fee structure confirmed in writing, including concessions and late payment rules.
-
Staff who resist the change. Introduce the benefits that matter to them first, such as faster attendance and fewer manual reports.
-
Parents who cannot log in. Share clear login steps and keep a support contact visible during the first two weeks.
-
Delayed deployment. The Extended License's ready-to-launch configuration removes most server and domain delays.
A dependable school management solution does not remove these hurdles completely, but it gives you the tools to resolve them quickly. Most issues come down to preparation, not software.
Why the Ready-to-Launch Route Saves Time
Building a platform from scratch can take a team months before the first school signs up. With the ready-to-launch route, the apps, admin panel, billing, and branding options already exist. Your effort goes into onboarding schools rather than building infrastructure.
This matters most for agencies, EdTech founders, and franchise operators who want to add schools steadily. Each new school follows the same repeatable process, and the second onboarding is always faster than the first.
Where eSchool SaaS Fits
For anyone running more than one institution, a multi school management system only works if each school stays separate while you stay in control. eSchool SaaS does this with a single Super Admin panel, while every school keeps its own admin, staff, students, and branded website.
Seen as a complete school management system SaaS, the platform covers academics, apps, billing, and communication in one place. That is what lets you onboard school after school without rebuilding anything.
Once your first school is live, the bigger picture is about growth: adding campuses, tracking every one of them, and keeping the platform running smoothly. To see how that works at scale, read about running multiple school campuses from a single dashboard.
Ready to Onboard Your First School?
Launch faster with eSchool SaaS and its ready-to-launch setup. Explore the full feature list, license options, and live demos on the product page: